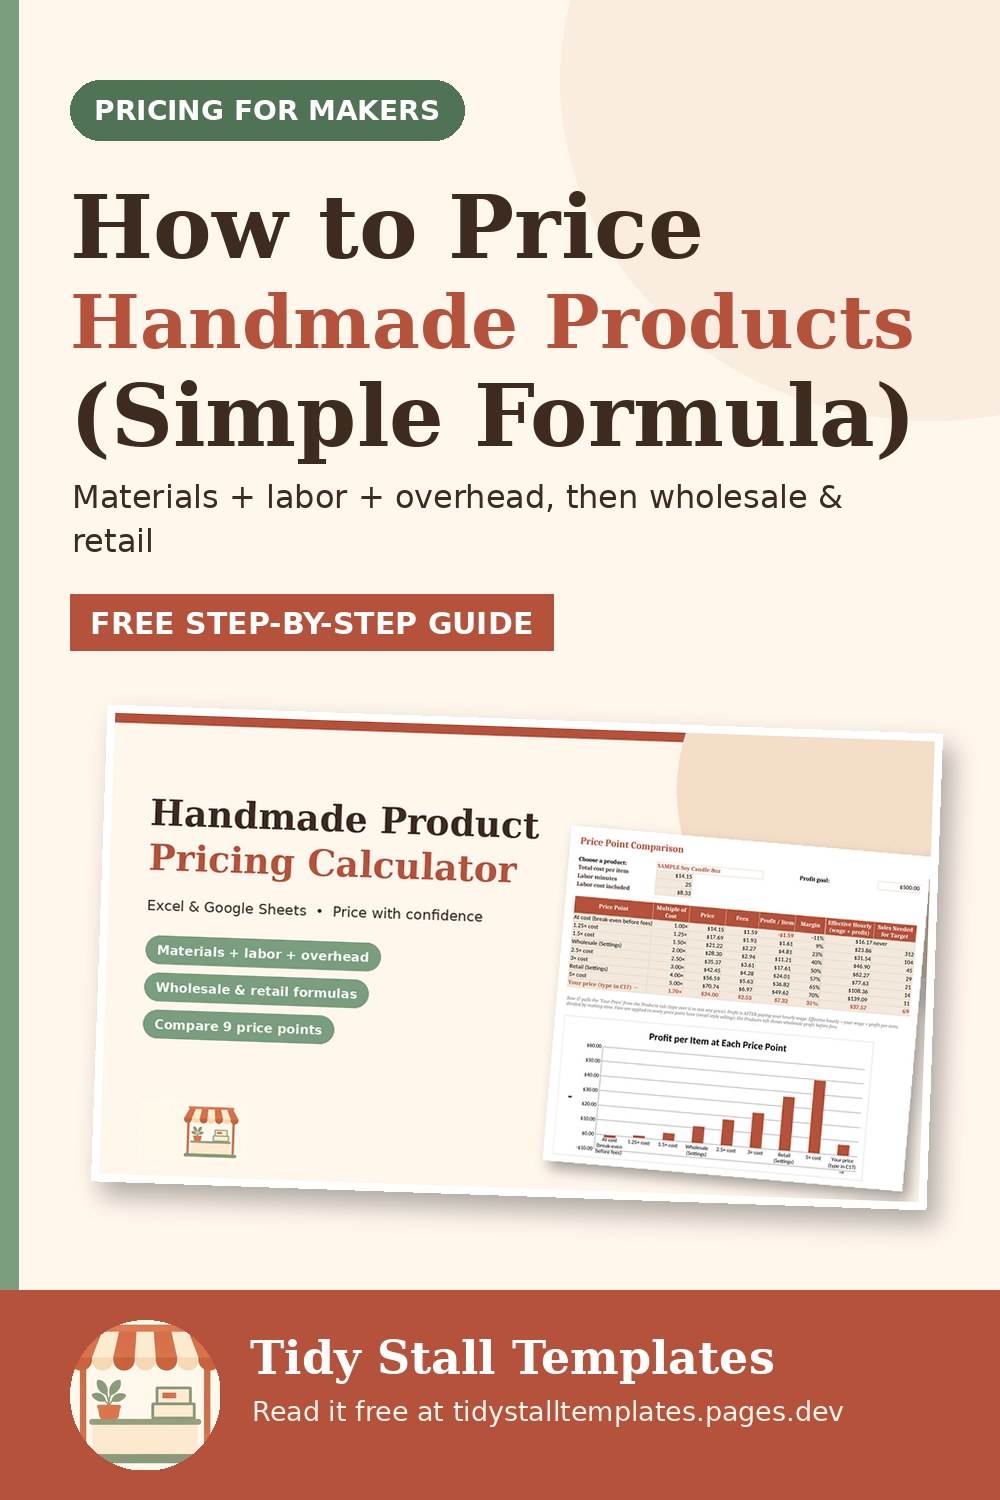
How to Price Handmade Products: A Simple Formula That Pays You
Most makers start pricing the same way: look at what similar items sell for, pick a number that feels safe, and hope it works out. The trouble is that "feels safe" often means "doesn't pay for my time". A pricing formula won't tell you what customers will pay, but it will tell you the lowest price that keeps your business sustainable, and that's the number you need before you look at the market.
Step 1: Work out your true cost per item
Your cost per item has four parts. Leave any of them out and your prices will be too low.
Materials
Work out the cost of what goes into one item. If you buy wax by the pound and use 8 ounces per candle, the wax cost per candle is the pack price ÷ ounces in the pack × 8. Do this for every material, including the small ones like jump rings, wicks, labels and thread. Use what you actually paid, including shipping on supplies.
Labor
Time how long one item takes, start to finish, then multiply by an hourly wage you'd be willing to accept from an employer. If you make items in batches, time the whole batch and divide. Labor = (minutes per item ÷ 60) × hourly wage. Don't leave this at zero "because it's a hobby". If the business grows, someone's time has to be paid for, even if it's yours.
Overhead
Overhead is everything that isn't in the item but keeps the business running: tools, studio space, software, website fees, equipment repairs. Add up a typical month, then divide by the number of items you make in that month. Overhead per item = monthly overhead ÷ items per month.
Packaging
Boxes, tissue, bags, stickers, care cards. Price them per item just like materials.
Add these together: Cost = Materials + Labor + Overhead + Packaging.
Step 2: Turn cost into wholesale and retail prices
A widely used rule of thumb for handmade goods is:
Wholesale = Cost × 2Retail = Wholesale × 2
It's a starting point, not a law. The idea is that wholesale gives you profit on top of paying yourself, and retail leaves room for a shop to buy at wholesale and still make money, while you earn more on direct sales to cover the extra work of selling (markets, photos, customer messages). If you'll never sell wholesale, you can choose a different multiplier, but be careful not to price so low that you couldn't take a wholesale order later without losing money.
Step 3: Account for selling fees
Every sales channel takes a cut: marketplace fees, payment processing, sometimes a fixed fee per order. These come out of your price, so check what's left after them:
Profit per sale = Price − Cost − (Price × percentage fees) − fixed fee per sale
Look up the current fees for each place you sell; they change, and they differ between platforms, markets and card readers.
A worked example
Here's an illustrative example (the numbers are made up to show the math) for a pair of beaded earrings:
| Part | Calculation | Per pair |
|---|---|---|
| Materials | beads, hooks, wire | $2.40 |
| Labor | 20 minutes at $18/hour | $6.00 |
| Overhead | $60/month ÷ 100 pairs | $0.60 |
| Packaging | card, bag, sticker | $0.50 |
| Cost | $9.50 | |
| Wholesale | $9.50 × 2 | $19.00 |
| Retail | $19.00 × 2 | $38.00 |
Now suppose your fees total 10% plus $0.30 per sale (use your own). At $38 the fees are $4.10, leaving $24.40 profit on top of the $6.00 you've already paid yourself for your time. If $38 feels high for your market, check a lower price before you commit: at $28 the fees are $3.10 and profit drops to $15.40, still healthy. At $15 you'd make $3.70 after fees, at $12 just $1.00, and at $10 you'd lose $0.80 on every pair.
Seeing several price points side by side like this turns "is this too expensive?" into a decision you can make with your eyes open.
Step 4: Compare with the market (last, not first)
Once you know your floor, look at what similar items sell for. Then you'll be in one of three places:
- Your price is in line with the market. Good. Use it.
- Your price is lower than the market. You may be underpricing. Consider raising it; customers often read a very low price as lower quality.
- Your price is higher than the market. Look for ways to bring cost down before cutting the price: buying materials in larger quantities, simplifying the design, making in batches to save time, or using less costly packaging. If you can't close the gap, ask whether this product is worth making, or whether it needs to be positioned as a premium piece.
Common pricing mistakes
- Pricing from your own budget. What you'd pay isn't necessarily what your customers will pay.
- Forgetting the hidden time. Photographing, listing, packing orders and standing at a booth are all work. The labor line covers making; your profit has to cover the rest.
- Never revisiting prices. Supply costs change. Recheck your numbers when you restock materials.
- Discounting by default. If you run a sale, check the discounted price against your cost first.
Pricing for craft fairs
At markets, round numbers make change easier and speed up the line: $15, $20 and $25 are quicker to handle than $14.37. If you round, round up from your formula price, not down. And remember the booth fee and travel aren't in the per-item cost above; they come out of the day's profit. You can estimate whether a particular show will pay off with the free Is This Show Worth It? calculator, and track real results with the method in how to track craft fair inventory and sales.
Pricing feels personal, but the math doesn't have to be. Work out your cost, apply a multiplier, check the fees, then compare with the market, in that order.