Craft Fair Packing Checklist: What to Bring to Your First (or Fiftieth) Show
Forgetting one thing on market day can cost you more than the booth fee: no tent weights and you may not be allowed to set up; no charger and your card reader dies at lunchtime. A written craft fair packing list takes the guesswork out of loading the car, and it gets faster every time you use it. Below is a checklist organised by category, followed by tips to make packing a routine instead of a scramble.
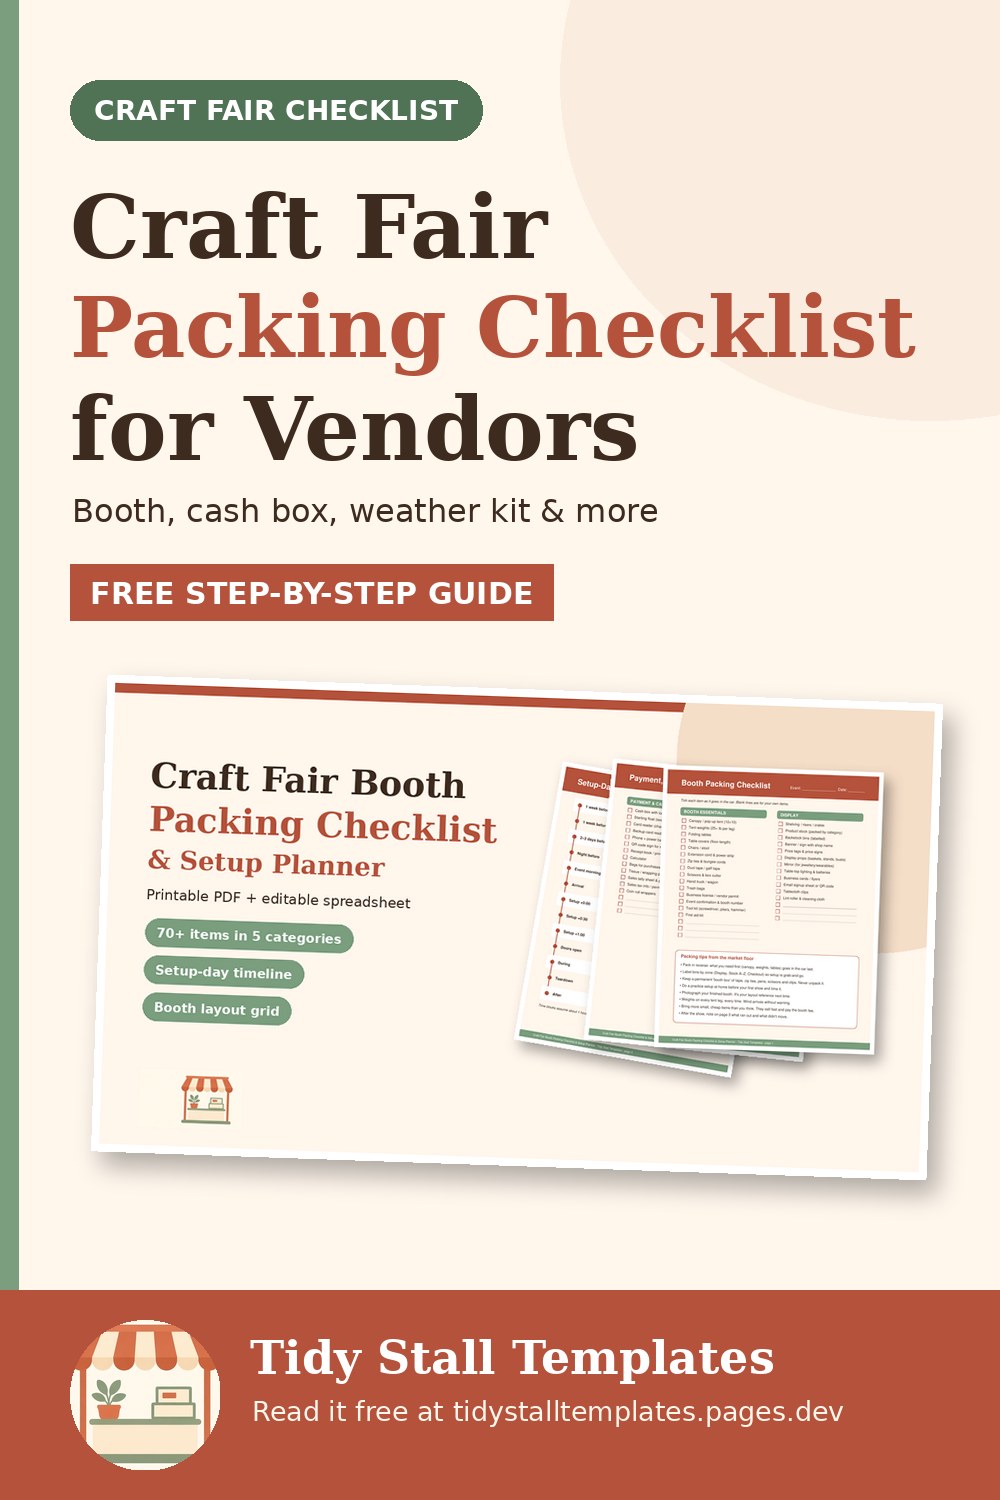
Want it printable? This list is also a free 5-page printable with tick boxes, a setup-day timeline and a 10×10 booth layout grid, plus an editable spreadsheet. Pay what you want; $0 is fine. Get the free Booth Packing Checklist
Before you pack: read your event's vendor information. Many events have rules about tent weights, electricity, table sizes, fire-retardant canopies or food samples, and they vary from show to show.
Booth and display
- Canopy or tent (for outdoor events), plus sidewalls if you have them
- Tent weights for every leg, and straps or bungees to attach them
- Tables and table covers that reach the floor (to hide storage underneath)
- Display risers, shelves, racks, stands or grid walls
- Your banner or main sign, plus the means to hang it (clips, zip ties, S-hooks)
- Price signs or tags for every item
- Mirror (for jewellery, hats and anything people try on)
- Lighting and an extension cord, if the event provides power or you bring a battery pack
- Chair or stool
- Your stock, counted as it's packed (see how to track craft fair inventory)
Payment and cash box
- Card reader, fully charged, plus its charging cable
- Phone or tablet, charged, plus a power bank
- A plan for weak signal: know whether your card app has an offline mode and how it works before you need it
- Cash box or zip pouch, with a counted starting float
- Bags, tissue or wrapping for purchases
- Receipt book or a way to send digital receipts
- A sign showing which payment types you accept
- Business cards or flyers with your shop link
How big should your cash float be?
There's no single right answer; it depends on your prices. Round prices ($10, $15, $20) need far less change than prices like $13.50. As one example, a $100 float could be 20 × $1, 8 × $5 and 4 × $10. Write the starting amount down so you can subtract it when you count the cash at the end of the day, and keep large bills out of sight.
Weather kit
- Clear plastic sheeting or tarps to cover stock in rain
- Clamps and clips to stop table covers and signs blowing away
- Extra weights for displays that could tip in wind
- Towels or rags for drying tables
- Sunscreen and a hat for sunny days; extra layers and hand warmers for cold ones
- Waterproof tubs for storage (cardboard boxes go soft in rain)
Tool kit
- Zip ties, binder clips, S-hooks
- Scissors, utility knife, multi-tool
- Packing tape, painter's tape, double-sided tape
- Pens, permanent markers, spare price tags
- Small first-aid kit
- Hand sanitiser and wipes
- Trash bags (many events expect you to take your own rubbish home)
Paperwork
- Vendor confirmation, booth number and the event contact's phone number
- Load-in times and parking instructions
- Any permits or licences the event or your area requires (for example, a sales tax permit in places that require one for event sales; check your local rules)
- Proof of insurance, if the event requires it
Personal items
- Water and snacks you can eat with one hand
- Comfortable shoes and a spare layer
- Phone charger
- Any medication you need during the day
- A notebook for "next time" ideas (what customers asked for, what you wished you'd brought)
A simple setup-day routine
A checklist helps most when it's part of a routine. One that works for many vendors:
- A week before: confirm load-in time and booth location, check stock levels, make anything you're short of, reorder bags and supplies.
- Two or three days before: charge every device, count your float, print or update signs.
- The day before: check the forecast, pack the car using your list, ticking items off as they go in, and pack the things you'll need first (tent, weights) last so they come out first.
- On the day: arrive early, set up the tent and weights before anything else, then tables, then displays, then stock, then signs. Test the card reader before the first customer.
- After the show: count stock and cash, note what sold, and write down anything you forgot or didn't use. Update your list while it's fresh.
Plan your layout before you get there
Sketch your booth on graph paper: if one square equals one foot, a 10 × 10 booth is a 10 × 10 grid. Mark tables, displays and where you'll stand. Many vendors find an open layout (tables in an L or U shape, leaving room for customers to step in) easier for browsing than a single table across the front, but test what works for your products and your space. If you can, do a trial setup in a driveway or living room and take a photo to copy on the day.
Make the list yours
The list above is a starting point. After each show, cross off anything you never use and add whatever you missed. Within a few events, you'll have a packing list that fits your booth exactly, and setup day will feel a lot calmer.
If you're doing several shows this season, it's also worth checking whether each one is likely to pay off before you commit; the free Is This Show Worth It? calculator helps with that.