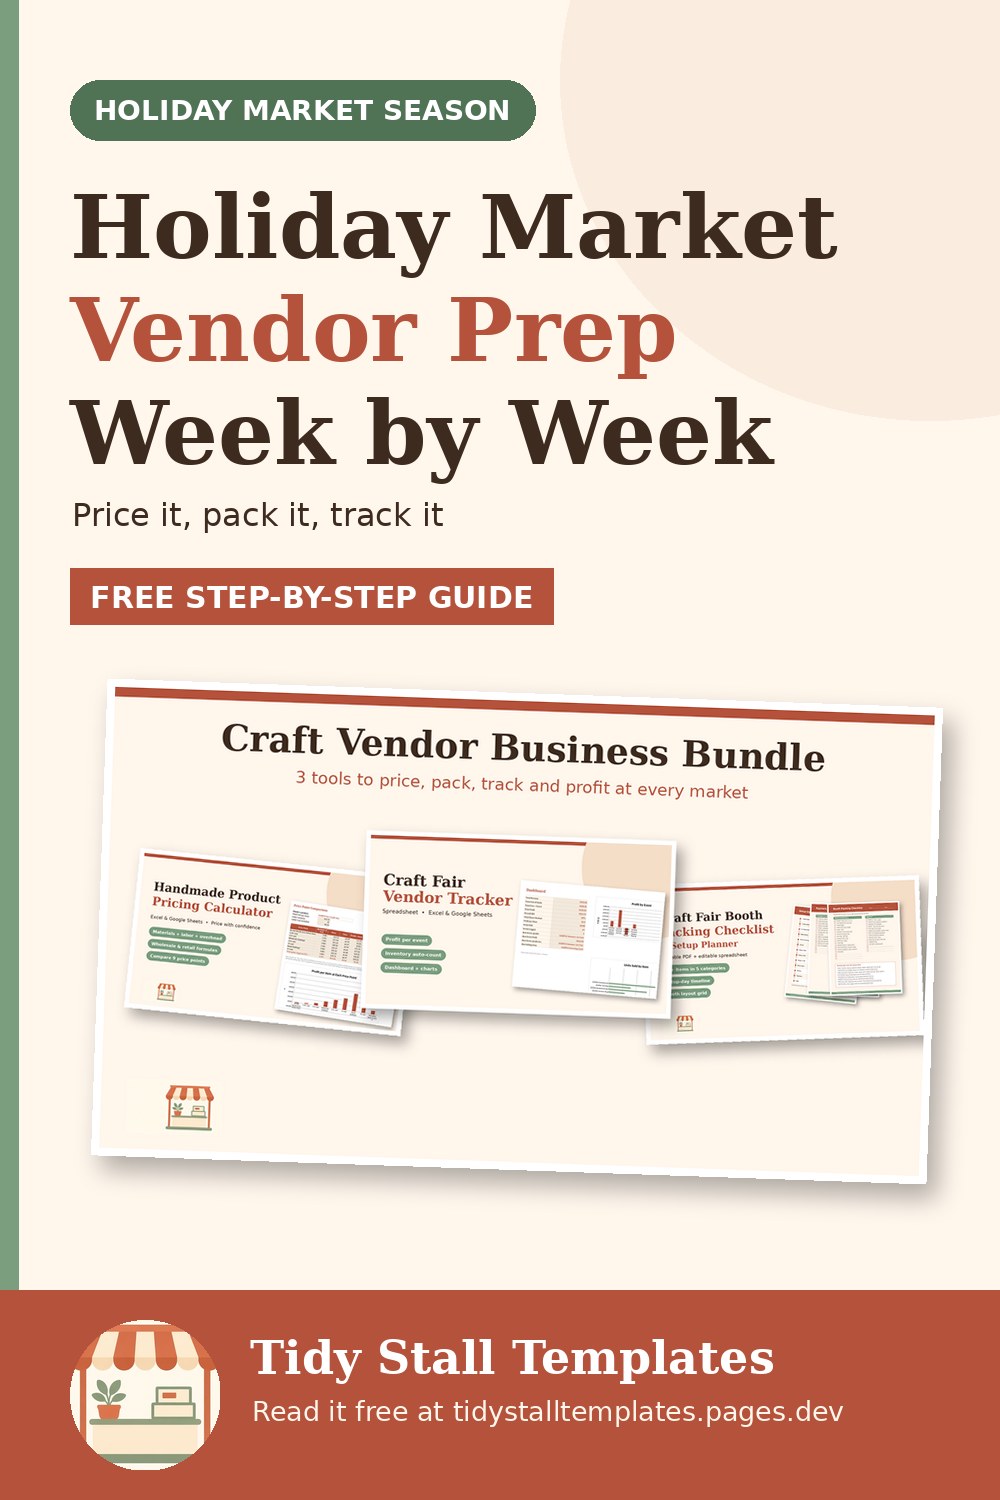
Holiday Market Vendor Prep: A Week-by-Week Plan for Craft Fair Season
Holiday markets can be the busiest weeks of a maker's year, and the most tiring. The vendors who seem calm on the day have usually done the work earlier: they know which shows they're doing, what they're charging, how much stock they need and what goes in the car. This plan breaks holiday market prep into stages you can start six to eight weeks out. If your first market is sooner, start where you are and compress the steps.
Six to eight weeks out: choose shows and check the numbers
Not every market is worth your weekend. Before you pay a booth fee, estimate what the show needs to earn:
- Add up the fixed costs: booth fee, travel, parking, any jury or application fee.
- Estimate your total hours, including packing, driving, setup and teardown.
- Ask what sales you'd need to break even, and whether that's realistic for this event.
The free Is This Show Worth It? calculator runs these numbers for you. If you have results from previous years, use them; if not, ask the organiser about expected attendance and talk to vendors who've done the show before.
Keep a simple list of every show you're considering, with dates, application deadlines, fees and status (researching, applied, accepted). Deadlines for popular holiday events can fall months ahead, so this list also tells you what to apply for next year.
Five to six weeks out: check your prices
Before you make a large batch of anything, make sure the price is right. Material costs may have changed since you last checked, and holiday shoppers are often buying gifts, which can make certain price points easier to sell.
- Recalculate the cost of each product: materials, labor, overhead and packaging. (Here's a step-by-step pricing method.)
- Consider adding a few lower-priced items, such as ornaments, cards or small gifts, so more visitors can buy something.
- Think about bundles or gift sets, but check the bundle price against your costs before you print the sign.
- Round market prices to make change easy.
Four to five weeks out: set production targets
"How much inventory should I bring?" has no universal answer; it depends on the event, your products and your prices. A practical way to estimate:
- Start with a sales goal for the show (for example, enough to clear your target profit).
- Look at your past sales, if you have them, to see roughly what share of revenue each product brings in.
- Divide each product's share of the goal by its price to get a unit target, then add a buffer so your display doesn't look bare late in the day.
If you don't have past data, make your best estimate and track this season carefully; next year's planning will be much easier. See how to track craft fair inventory and sales.
Build a production calendar backwards from your first market. Batch similar tasks together, and leave slack for things that go wrong: a delayed supply order or a batch that doesn't come out right.
Three weeks out: plan the booth
- Sketch your layout on a grid. For a 10 × 10 booth, one square per foot works well.
- Do a trial setup at home, and take a photo of the result to copy on the day.
- Check you have enough tent weights, table covers and display pieces for the layout.
- Plan your signs: a clear banner, prices on everything, and the payment types you accept.
- Add seasonal touches if they suit your brand, such as lights (if allowed and powered), greenery or gift-wrap options.
Two weeks out: payments and supplies
- Test your card reader and app, update them, and learn how offline mode works (if it has one) in case the venue's signal is weak.
- Order bags, tissue, receipt paper and business cards if you're running low.
- Decide on your cash float, and get small bills from your bank in advance.
- Confirm load-in times, parking and booth numbers for each event.
The week of the market: pack with a list
Use a written packing list and tick items off as they go into the car. A full list by category is in our craft fair packing checklist. The essentials people most often forget: tent weights, chargers, the cash float, price signs, tape and zip ties, and water for themselves.
Count stock as you pack it and write the numbers down. That count is what lets you work out exactly what sold when you get home.
On the day
- Arrive early. Set up tent and weights first, then tables, displays, stock and signs.
- Keep a tally of sales by item. A clipboard by the payment area works.
- Restock the display as things sell, so it looks full all day.
- Note what customers ask for that you don't have. That's free product research.
After each market: review before the next one
Holiday markets often come in clusters, so a quick review between shows helps you adjust:
- Count returned stock and reconcile it with your tally and payments.
- Work out profit and profit per hour: sales minus cost of goods, fees, booth and travel, divided by the total hours you put in.
- Update your production plan for the next show based on what sold out and what didn't move.
- Update your packing list with anything you forgot or didn't use.
- Write down whether you'd do this show again, and why. You won't remember the details by next autumn.
After the season
Once things calm down, compare all your shows side by side: profit, profit per hour and how each one felt. This is the information that makes next year's applications easier. Rest is part of the plan too; a busy season is a marathon, not a sprint.